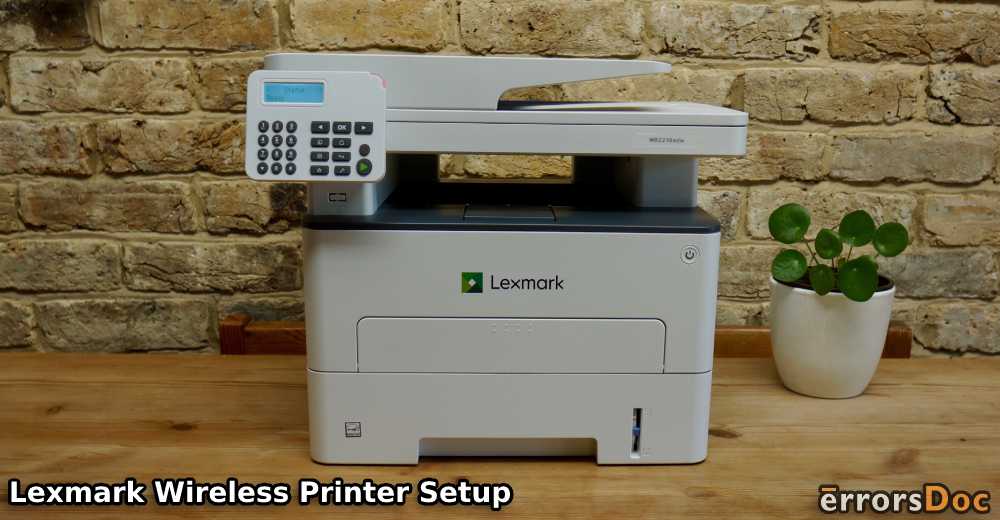
Many of you would be having a Lexmark printer that comes with the option of wifi feature. Using this feature, you can wirelessly print from your device. You can also connect your Lexmark printer to your system and then use the wireless router for giving the print commands. To connect your device to your wifi, we have provided you with several methods in this post. These methods to perform Lexmark wireless printer setup for wifi can be done without a CD, with the WPS button, using a USB cable as well as using your PIN.
Also, if you have a Windows or Mac computer, then you can find methods to connect your Lexmark printer to wifi on that too.
This blog will make you familiar with the following methods to connect your Lexmark printer to your wifi.
- How to Connect Lexmark Printer to Wifi without a CD?
- How to Perform Lexmark Printer Wifi Setup via WPS Method?
- Option 1: Automatically Connect Your Lexmark Printer to Wifi via WPS Method
- Option 2: Manually Connect Your Lexmark Printer to Wifi via WPS Method
- How Do I Connect My Lexmark Printer to My Wireless Network via a USB Cable?
- How Do I Connect My Lexmark Printer to My Computer Wirelessly via PIN Method?
- How to Connect Lexmark Printer to Wifi on Mac?
How to Connect Lexmark Printer to Wifi without a CD?
Here, we have mentioned a method for Lexmark printer wifi installation without CD. As a part of it, you can first connect your computer and printing device. Then the software for your Lexmark printer will be downloaded. You can also do it manually . After this, you can install the software for the Lexmark printer and extract its files. Then you can set up the software and test your device.
1. The basic step is to ensure that your Lexmark printer and computer are connected.
2. After connecting your printer to your Windows computer, your system will detect it. The software needed to run the printer will be installed by it.
3. In case your system is unable to retrieve as well as install the needed software for your Lexmark printer, you can visit the website of Lexmark. You can go to “Support”/”Downloads”. From there, you will be able to download the software for your device.
4. In the “Search Box”, enter your Lexmark printer’s model number.
5. After finding your device’s model, choose “Downloads, Printer Driver or Software”.
6. Choose the OS of your system.
7. You will be required to choose the “Language” and other such choices. Afterwards, you can press the “Download” option.
8. In the next step, you will see the “License Agreement”. Review it and then accept it. Then the software will have to be saved to your system’s hard drive.
9. When the software gets downloaded, find and click twice on it
10. Click on “Extract” to access the contents of the ZIP file. You can do this in a new folder.
11. Click twice on “Setup”.
12. The instructions to continue the procedure will be present on your screen now. You can follow them for installing the software.
13. You will be asked to connect your system to your printer.
14. Then press “Finish”.
15. Reboot your system.
16. To end this procedure, you can test that your Lexmark printer is correctly functioning.
The Lexmark wireless printer setup to connect to wifi will now be over.
How to Perform Lexmark Printer Wifi Setup via WPS Method?
The WPS method is one of the methods to connect Lexmark printer to wifi. This method can be done in two ways, automatically and manually. The steps for both the methods have been provided as follows.
Option 1: Automatically Connect Your Lexmark Printer to Wifi via WPS Method
To automatically connect your Lexmark printer to your wifi via the WPS method, you can first select the connection method. Then you can press the WPS button on the wireless router. Then you can press Ok or Connect to move ahead. Shortly, the connection will be made and you will be notified of the same on your printer’s display. When the connection is successful, you can press Ok again. Now, let us see the steps for doing this.
1. To start, ensure that you have the “SSID” or the “Wireless Network Name”.
2. Also, see to it that you have the “Password” or “Wireless Network Key”.
Note: Certain gateways or wireless routers come with a label which carries credentials by default. In case you cannot find the credentials on the label, you can look for the same in your device’s documentation.
3. Choose “Wireless Setup Wizard” as the method of connection on your printer’s display.
4. On the wireless router, find the “WPS” button. Press this button. The light for this may turn on in case your router comes with this option.
5. Then tap “Ok”/”Connect”.
6. You will see a message saying “Attempting to Connect to Your Network”.
7. Again tap “Ok” when your printer gets connected to your wifi.
Option 2: Manually Connect Your Lexmark Printer to Wifi via WPS Method
You can also use the WPS method to manually connect your Lexmark printer to your router. For this, you can access the Home screen and choose setup and press Ok. Then you can enter Network Setup and press Ok. Going further, you can make a selection for Wireless 802.11 b/g/n, accompanied by tapping Ok. After selecting the Network Connection Setup, you can pick your wireless and the connection will be made.
1. Land on the “Home” screen of your device. For this, tap “Home”.
2. Go to “Setup”.
3. Press the “Ok” button.
4. Then select “Network Setup”.
5. Now, tap “Ok”.
6. Choose “Wireless 802.11 b/g/n” and then select “Ok”.
7. Now, “Network Connection Setup” has to be selected.
8. Press “Ok”.
9. Find your “Wireless” from the options and press “Ok”.
10. You will find instructions on the display now. Correctly do them to finish connecting your Lexmark printer to your wifi.
How Do I Connect My Lexmark Printer to My Wireless Network via a USB Cable?
In this Lexmark wireless printer setup, we will make the use of a USB cable. You can first choose USB setup as the method for connecting. Then you can install the drivers for your Lexmark printer’s model on your system. After accepting the License Agreement for the same, you can choose Wireless Connection, followed by selecting the Guided Setup option. Then you can choose your network and your printer will automatically get connected to your wifi.
To know the complete steps for doing this, you can consider the following.
1. Ensure that you have the “SSID”/”Wireless Network Name” as well as “Wireless Network Key”/”Password”.
2. Select “USB Setup” as the connection method.
3. From your web browser, go to the following link.
“support.lexmark.com/drivers”
4. Enter the following information. Then press “Submit”.
i. “Product Model”
ii. “Operating System”
iii. “Operating System’s version”
iv. “Language”
4. Scroll below to find the recommended driver.
5. A page will load now. You can press “Download” and the driver will be downloaded.
6. Then press either “Save” or “Run”. You can also tap on the downloaded file and the installer will get opened.
7. To set up wifi, press “Start”.
8. Then you have to click on “Install”.
9. When you see the “License Agreement”, hit “Agree”.
10. If you see security warnings on the screen, press “Continue”.
11. In case the location of the installation needs to be changed, you can change it now.
12. You can select or deselect “Set as the Default Printer” if you wish to do so.
13. Then press “Continue”.
14. Pick your “Wireless Connection”. Then press “Continue”.
15. On your printer, choose the “Wifi Status Indicator”. You will see an option stating whether the indicator is blinking or not. Select the same and press “Continue”.
16. In the next step, please choose “Guided Setup”.
17. Then tap “Continue”.
18. Now, press “Yes” and tap on “Continue”.
19. You may be asked whether WPS is supported by your router. Choose “No” and press “Continue”.
20. Press “Continue” again.
21. Now, connect your printer to your system via a USB cable. Then press “Continue”.
22. You need to select your “Network” and press “Continue”.
23. Then tap “Yes” and tap “Continue”. Your printer will be connected to your wifi.
Note: In case your printer is unable to automatically connect to your wifi, the “Security Key” or your wifi’s password will have to be entered in the prompt. Then you can press “Continue”.
24. Now, you can detach your USB cable. Then tap “Continue”.
25. Again hit “Continue”.
26. For enabling the advanced functions for your Lexmark printer, you will find the directions on your screen. You can execute them to establish the complete setup.
With this, the Lexmark printer wifi setup will come to an end.
How Do I Connect My Lexmark Printer to My Computer Wirelessly via PIN Method?
You can also use the PIN method for Lexmark wireless printer setup for wifi. To do this method, you can access your device’s Control Panel when it is on. Then you can select Network and Network Setup. Now, click on Wireless and select Wireless Connection Setup. Then you can enter the Wi-Fi Protected Setup. For carrying out the further procedure, you will require your WPS PIN.
Now, let us go through the following steps to understand the complete procedure for this wifi setup method.
1. Start your Lexmark printer.
2. On its “Control Panel”, choose “Network”.
3. Then press “Network Setup”.
4. Now, you have to select “Wireless”.
5. In the fifth step, choose “Wireless Connection Setup”.
6. Now, tap on “Wi-Fi Protected Setup”.
7. Then click on “Start PIN Method”.
8. The “WPS PIN” of 8 digits needs to be copied now.
9. Using your web browser, enter the “Default IP Address” of your router.
Note: You can look for the “Default IP Address” of your router on its back.
10. Then fill in the “Username” of your router as well as its “Password”.
11. In your router, you will see the “Wireless Setting” option. Here, turn on “Wi-Fi Protected Setup”.
12. Now, provide your “WPS PIN”.
13. Press “Save”.
14. After a short while, you can install the software for your Lexmark Printer. Then take a test print to check that the wifi setup has been done without any error.
How to Connect Lexmark Printer to Wifi on Mac?
Learn to connect Lexmark printer to wifi on Mac in this section. This connection will be established with the help of the AirPrint feature. You can simply turn on your Lexmark printer and use this feature to connect it to your Mac computer. Then you can connect them both on the same network of your wireless. Finally, you can print a test page to check that the connection has been successfully made.
1. To begin with, you need to check that your Lexmark printer comes with the option of “AirPrint”.
2. With the help of “AirPrint”, connect your printer to your Mac.
3. Now, switch on your Lexmark printer.
4. Ensure that the wireless network to which both the devices are connected is the same.
5. Add some sheets to the paper tray.
6. Ensure that the ink cartridges have been placed.
7. Run the required application to give a test print.
8. Press the button to print and choose your printer’s name.
9. Input how many copies you would like to print. Then click on “Print”. If the Lexmark printer wifi installation has been successful, then you will be able to print the page.
Thoughts in Conclusion
Your Lexmark printer gives you the option to connect it to your wifi. To connect it to your wireless router, you learnt various methods with us. From the WPS method to the PIN method, you can use any of these for establishing the connection. The users of Windows and Mac were also assisted here for this purpose.
If this blog helped you with what you were looking for, then do provide it with a satisfying rating below. Also, for any other help, you can reach us via the comment section.