It’s a known fact that every operating system faces some or the other type of issue, sometime. Among many, the issues ‘Windows could not automatically detect this network’s proxy settings’ is quite common. As per clients they are getting “Windows couldn’t automatically detect system’s proxy settings” message, and in case you’re having comparative issue, then you can check out the below mentioned solutions to solve the same.
Many users claim that their internet is working at a slow pace or they find it hard to access few sites. Such problems can be associated with Windows 10 could not automatically detect this network’s proxy settings. As a helping hand, here below are mentioned, few solutions, which you can use to solve the error.
Solution 1: Check your proxy server settings
-
- Disable the proxy server on Internet Explorer.
-
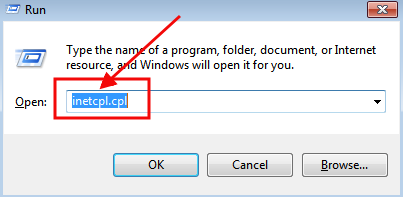
- On the keyboard, press Windows Key + R.
- When Run dialog appears type inetcpl.cpl and click on Enter.
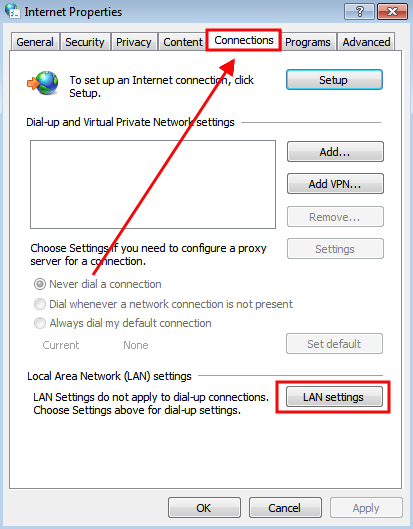
- Click on the tab ‘Connections’, and after that click on the ‘LAN settings’.
-
- Now, check if your proxy settings are alright.
Solution 2: Reset TCP/IP
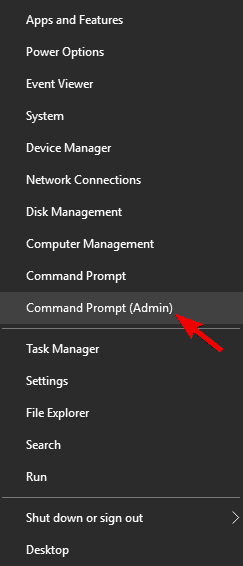
- Press Windows Key + X and select Command Prompt from the menu.
- At the point when Command Prompt begins, type ‘netsh int ip reset resetlog.txt’.
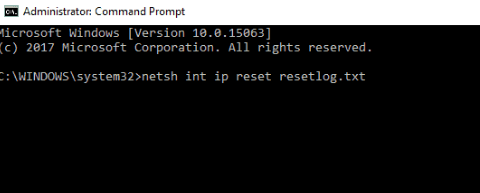
- Now, restart your PC and check whether the issue is resolved or not.
Solution 3: Uninstall your antivirus software
For the time being, remove your current antivirus software, you are using on your PC. According to reports, some antivirus cause issues with proxy. Thus, it is advisable to remove the antivirus for some time.
After removing, check Windows Could Not Automatically Detect This Network’S Proxy Settings the issue is resolved or not. In case, it gets resolved, try out different antivirus software. If not, check another solution.
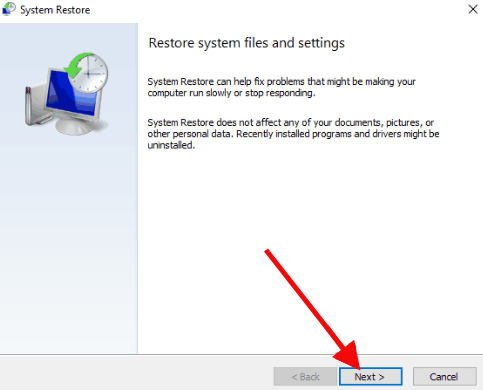
Solution 4: Use System Restore
In case you’re getting ‘Windows 8.1 could not automatically detect this Network’s Proxy Settings’ message every now and again, you may have the capacity to fix it by playing out a System Restore.
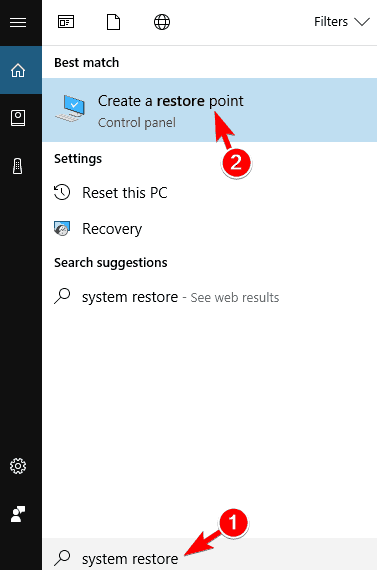
- Press Windows Key + S and enter system restore. Select ‘Create a restore point’ from the rundown of results.
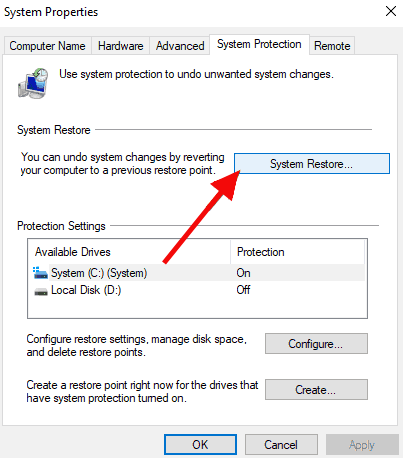
- A window showing system properties will appear. Click on the button ‘System Restore’.
- At the point when System Restore window appears, click on Next.
-
- A list of recent restore points will appear. Check the option ‘Show additional restore points’. Select the required restore point and click on Next.
- Complete the restoration process by following the instructions.
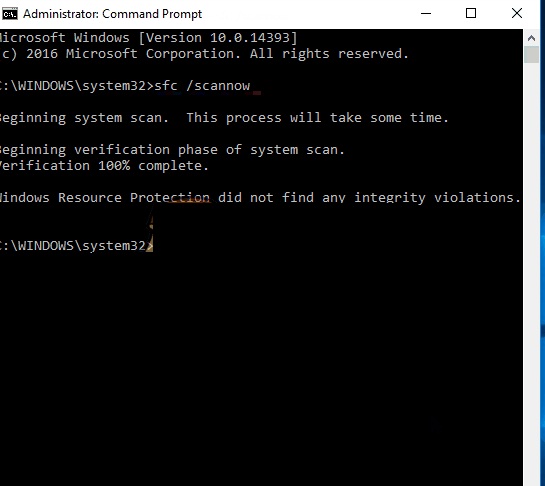
Solution 5: Using SFC scan
As per clients, you can fix ‘Windows could not automatically detect this Network’s Proxy Settings error’ simply by utilizing Command Prompt.
-
- Open Command Prompt as admin. To perceive how to do that, check Solution 2.
-
- Now enter sfc/scannow and press Enter.
- SFC scan will start processing. The checking procedure can take around 10-15 minutes, so don’t intrude on it.
-
- When the scan is done, check if the issue still appears. Provided that this is true, you may need to utilize DISM examine.
-
- To do that, open Command Prompt as admin again and enter DISM/Online/Cleanup-Image/RestoreHealth. DISM check can take around 20 minutes or more so don’t interfere with it.
- When the DISM examine is done, check if the issue is resolved. In the event that you were not able run SFC filter previously, have a go at pursuing it DISM check. In the wake of running the two outputs, your issue ought to be resolved.
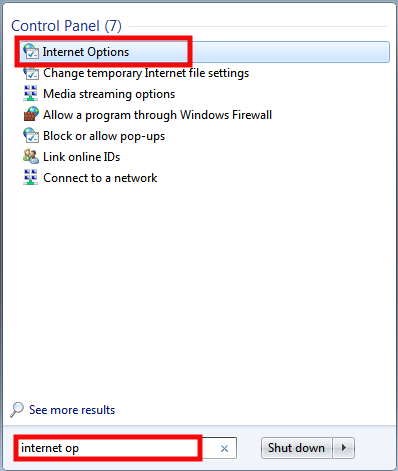
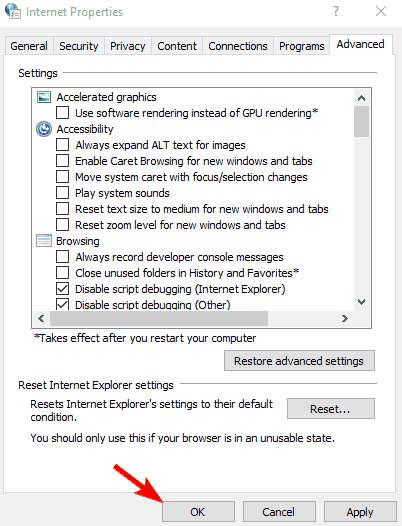
Solution 6: Reset your Internet settings
- Press Windows Key + S and enter ‘internet’ alternatives. Select ‘Internet Options’ from the menu.
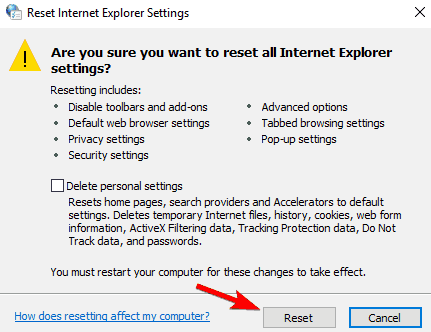
- Go to’ Advanced’ tab and click on Reset.

- Click on the button ‘Reset’.
-
- Optional: Click on ‘Restore advanced settings’.
- Now click on Apply and OK to save changes.
- Once the internet settings are settled, the issue will get resolved.
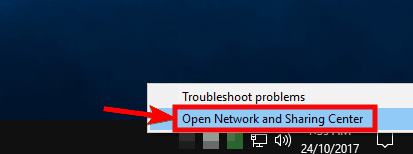
Solution 7: Restart your network adapter
- Available in the bottom right corner, right click on the network icon.
-
- Choose ‘Open network and sharing center’.
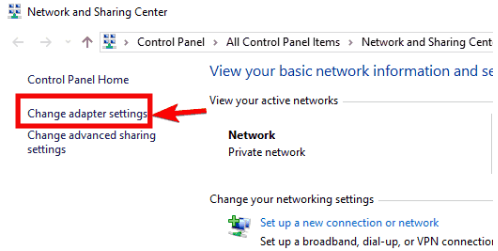
- Click on ‘Change adapter settings’ from the menu on the left.
- Find your network connection, right click it and make it ‘Disable’.
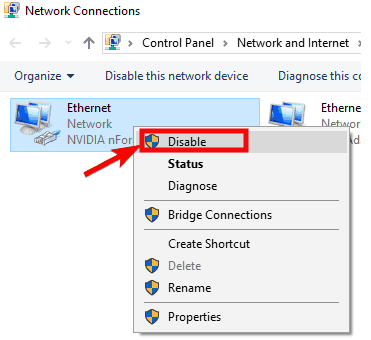
- Now right click your system association again and pick ‘Enable’ from the menu.
Solution 8: Enable ‘Obtain DNS disjoin address automatically’
-
- Open ‘Network and Sharing Center’ and go to ‘Change adapter settings’.
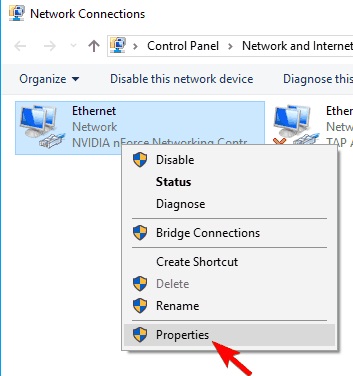
- Locate your network connection, right click it and pick Properties from the menu.
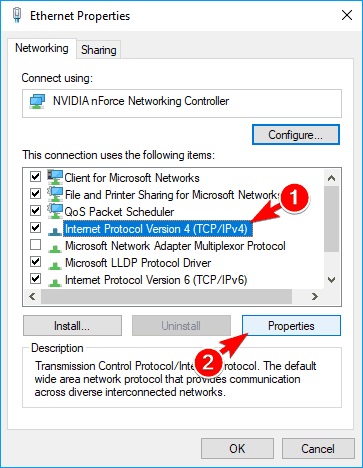
- Select Internet Protocol Version 4 (TCP/IPv4) and click on Properties.
- Select Obtain DNS server address automatically and click on OK to save changes.
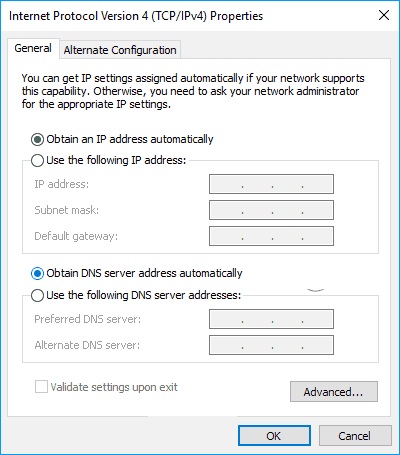
- In the wake of doing that, the issue ought to be resolved and you’ll have the capacity to get to the Internet with no issues.
Solution 9: Change proxy settings
-
- Press Windows Key + I to open the Settings app.
- Explore to Network and Internet segment, when ‘Settings App’ opens.

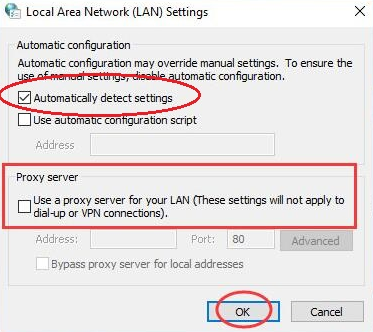
- Go to Proxy in the left pane and disable the ‘Automatically detect settings’ in the right pane.
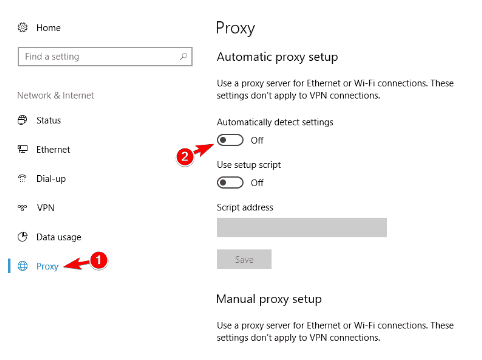
Many users have claimed that this solution had worked very well.
Solution 10: Run network troubleshooter
As per clients, you may have the capacity to fix the issue just by running Network troubleshooter. To do that, you simply need to pursue the below mentioned steps:
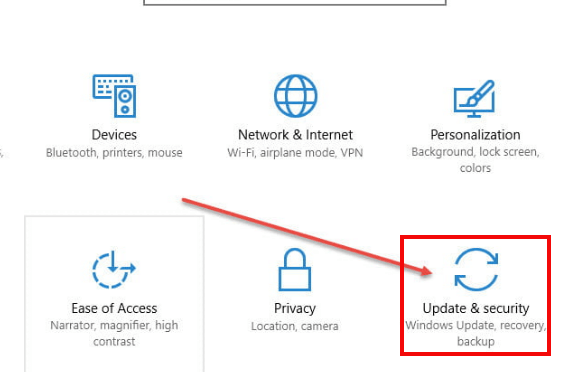
- Open the Settings app and explore to Update and security segment.
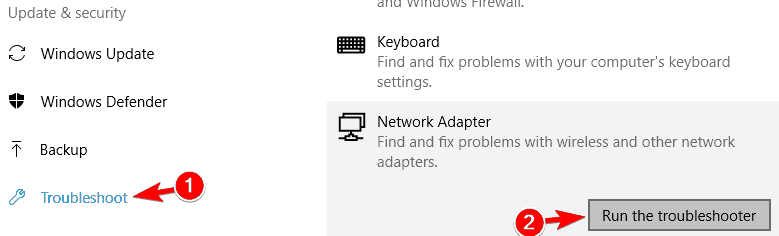
- In the left sheet select Troubleshoot. In the right pane, select Network Adapter and click on Run the troubleshooter.
-
- When Troubleshooter opens, adhere to the guidelines on the screen to finish it.
-
- Optional: Some clients are prescribing to run Internet Connections troubleshooter, so you should need to attempt that too.
- In the wake of finishing the troubleshooter, the issue ought to be resolved totally.
Windows 10 proxy issues can cause numerous issues, for example, restricted internet access, and in case you’re getting “Windows couldn’t automatically detect system’s proxy settings” error frequently, you can try any of the above solutions to fix the issue.
If you still won’t able to fix Windows Could Not Automatically Detect This Network’S Proxy Settings issue. Here the Video with setup by step solution that can help you to fix this issue.
I was constantly reinstalling the Antivirus to get rid of this issue. But after reading this guide I understood where I was going wrong and followed the steps. I must say these steps were very clear and helped me solve the issue.
I tried restoring my system which did not help. But this guide was very helpful because of the precise instructions and multiple solutions provided. Found the solution to my problem by following the steps of the first solution mentioned.
I feel a bit technologically challenged because of the complex solutions given on the number of sites I have visited. But after seeing errorsdoc many solutions to one problem I felt at ease. And the fourth solution given has helped me recover with the issue.
The problem is often due to an old MSFT bug.
Open Internet Properties. Go to Connections, then LAN settings. UNTICK Automatically detect settings.
The end.