In Windows Vista, Windows XP, and Windows 7, to mount ISO disk image for installing application or repair backup files, you are required to install third-party utility. Microsoft has a free tool that is known as the Virtual CD-ROM Control Panel. This tool allows the older edition of Windows to mount ISO files easily as the virtual CD-ROM drives.
One of the annoying challenges of the software provided in MSDN and DreamSpark is that the program downloads are mostly in the ISO format. This necessitates going via some extra stages to burn the applications to a USB or DVD storage keys. One of the known outstanding features in Windows 8 is the capability to “mount” ISO files simply and run the application installation from the place where it was downloaded. Our technical team will help you to Mount ISO in Windows 10, Mount ISO File in Windows 7, and Mount ISO in Windows 8.
In this blog, we will tell you how to mount ISO Windows 7, mount ISO Windows 8, mount ISO Windows 10, and a lot more.
An Overview of Windows Mount ISO Methods
The method for how to mount ISO on Windows is really simple. The process involved is basically a one-click step. All you have to do is press the right-mouse on the ISO file and choose “Mount” with the left-mouse click. The removed file list will be displayed. Click on the set-up.exe file for software installation. And you’re done!
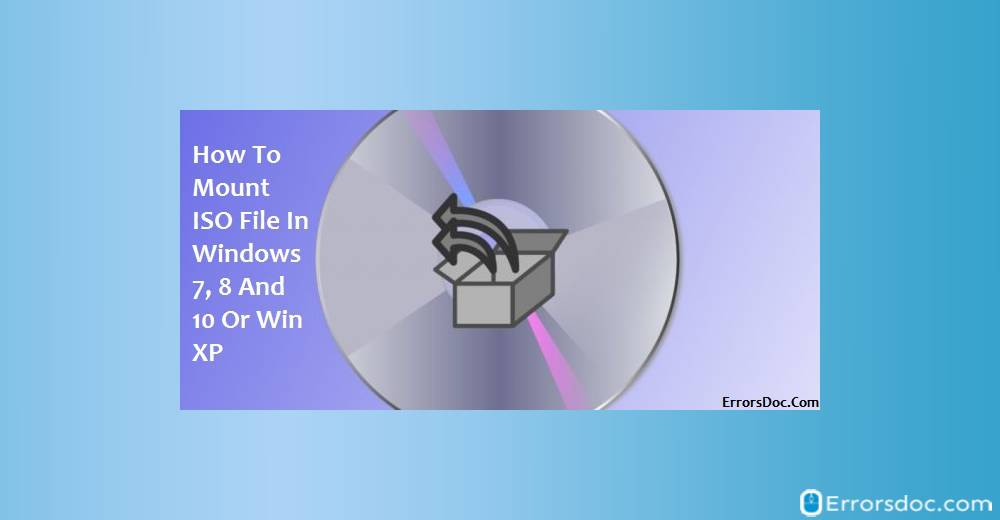
Fixes for Mount ISO File in Windows 7, Windows 8, Windows 10, and Windows XP
In the following sections of the blog, we will tell you the solutions to mount ISO Windows 7 free. In addition to that, we will also share with you awesome solutions to mount ISO Windows XP, Windows 8, and Windows 10. For every solution, the detailed steps have been provided below. Follow these steps carefully to mount the ISO Windows.
Fix 1: Opening ISO file with WinRAR
In the first solution, we will tell you how to mount ISO on Windows by opening the file with WinRAR. The 6 steps for this have been shown as follows.
1. First, install the “WinRAR”. Then Run the “EXE” application you downloaded.
2. Run the “WinRAR” and then select “Start All Programs” and “-WinRAR-WinRAR”.
3. Now, start the “ISO File”.
4. In the “WinRAR”, start the “ISO” file from the placed folder.

5. Extract the “File Tree”.
6. Next, close the “WinRAR.”
Fix 2: Mounting an ISO Image in Windows 8, Windows 8.1, or Windows 10
In this section, we will teach you how to mount an ISO in Windows 10, Windows 8, and Windows 8.1 in an easy way. It will be helpful for you to know that on Windows 10 and Windows 8, Windows has the integral capability to mount both Virtual Hard drive and the ISO disc image file. Learn how to use this for mounting in just 6 steps.
1. Double-click on the “ISO” file to mount. This will not function if you have ISO files related to another application on your system.
2. Right-click on the “ISO” file and choose the “Mount” option.
3. Choose the file in the “File Explorer”.
4. Now, press the “Mount” button in the “Disk Image Tools” tab.

5. Once you have mounted the disc image, you can view it as it gets displayed as a fresh drive under the system.
6. Right-click on the drive and once it is completed, choose “Eject” to unmount the ISO file.
Fix 3: Mounting an ISO Image in Windows 7 or Windows Vista
Let us now come to the best method for how to mount ISO file Windows 7. On the older release versions of Windows, you will require third-party software to mount the ISO image files. The steps for this solution have been explained as follows.
1. Start “WinCDEmu”. It will help you with ISO files and another disc image formats.
2. Install the “WinCDEmu” and provide the permission to install the requirement of hardware driver. Double-click on the “Disc image” file to mount ISO image.
3. You can right-click on the “Disc image” file and select “Mount and drive letter” in the context menu.

4. You will see an easy interface for selecting the drive letter and other basic choices. Click on “OK” and the mounted ISO image will get displayed under the system.
5. To unmount the “Disc image” once it is completed, right-click on the “Virtual disc drive” and choose the option of “Eject”.
Note: WinCDEmu is an open-source and simple disc mounting application. WinCDEmu is even helpful on Windows 10 and Windows 8 which allow you to mount the CUE, NRG, MDS/BIN/IMG/MDF, and CCD image files that Windows doesn’t provide built-in support for.
System Requirement:
As numerous commenters, this software also has some system requirements. This utility doesn’t seem to function well with Windows 7 which has at least the 64-bit version or the 32-bit version. In its place, use a separate tool such as the “Virtual Clone Drive” recommended by reader Marcus Mangelsdorf.
Also, remember that Windows 8 supports the mounting of ISO files so that the utility is not required by Windows 8 users.
Fix 4: Contact Support from Technical Professionals
After following the step-by-step methods to Mount ISO in Windows 10, Mount ISO File in Windows 7, and Mount ISO in Windows 8, we hope your purpose is properly served. However, you can also get added support services from our technical experts in times of complexity. Our technical team assures all your queries and doubts with proper guidance and explanation. We also offer the best solution to any issue encountered with total perfection.
Now, Coming to a Close
In this blog, we shared the solutions for how to mount ISO file in Windows 7. In addition to that, we also discussed the solutions for how to mount ISO on Windows 8, Windows 10, and Windows XP. Did our solutions work well for you? Let us know your thoughts! Drop us a comment!
Would you like to check out our latest reads as well? We have authored the best solutions for Windows 10 password reset. And these are not all! We also have the most helpful guide to settle the Windows update error 0x80070490. Read them now!