
Microsoft Excel allows you to move the columns smoothly without affecting the data. If you want to know how to move columns in Excel, then you are at the right platform. The blog demonstrates the right and simple ways to move data from rows to columns in Excel.
Furthermore, the methods for how to move columns in Excel Mac can also be performed on Windows PC.
How Do I Move a Column in Excel?
If you are thinking “how do I move a column in Excel” then do not panic. Moving the column in Excel is pretty simple. All you should be aware of is the right technique. In Excel, you can use three simple methods to move columns which are as follows.
- Drag the Column
- Insert Cut Cells
- Sort the Columns
When you understand the use of the above-mentioned features then you can easily get your answer for how to move columns to rows in Excel. Below we will understand these methods with a manual procedure.
How Do You Move a Column in Excel?
When someone asks “how do you move a column in Excel” then you walk them through the following m ethods one by one.
Method 1: Drag the Column
The first and the foremost way to move a column in Excel, you drag it. For that, you can use the Shift key on the keyboard. If you want to learn how to move columns in Excel, let us go through the following steps.
- To move data from column to row in Excel, open the Excel sheet where you want to move columns.
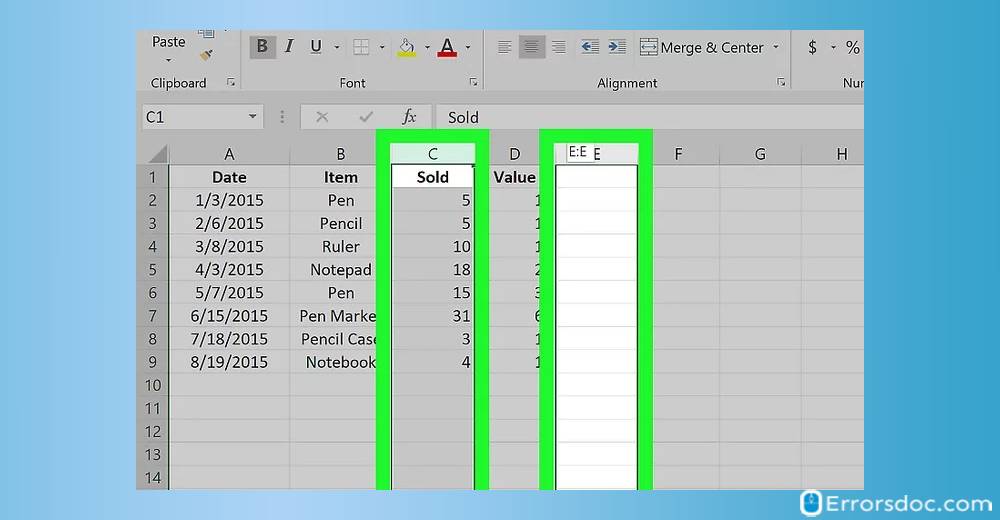
- To move the columns, you need to select the column that you want to move.
- After selecting the column, you can hover the mouse over the selected column. This will show you a four-sided arrow.
- Next to this, you can use the Shift key on the keyboard. All you need to press and hold the key.
- Thereafter, you can click left on the mouse and hold it.
- In the next step, you can move the column to the place where you want to keep it.
- After this, you can release the mouse left key as well as the Shift key.
When you are done performing the above-mentioned steps, you will successfully move the columns in your Excel sheet. So, if you want to know how to move rows to columns in Excel, you can implement these steps to get the job done.
Method 2: Insert Cut Cells
Another method for how to move entire columns in Excel is to follow the traditional way. By using the Insert Cut Cells feature, you can easily move the columns in your Excel sheet. So, if you want to know how to move columns to rows in Excel then you can execute the following steps:
- To move column in Excel table, you can open the Excel sheet where you want to move columns.
- To move the columns, you need to pick the column that you want to move.
- Next to this, you can click right and choose the Cut option.
- Alternatively, you can use shortcut keys Ctrl + X on Windows in order to cut the column.
- If you want to know how to move columns in Excel Mac then you can use the Command + X key on your keyboard to cut the column.

Note: In case you cut the incorrect column by mistake then you can press the Esc key on your keyboard. This will return the data to the original location.
- Now you can pick a column where you want to insert the selected column.
- Then, you can again click right and choose the Insert Cut Cells option.
Note: In case you paste the column at the wrong location then you can use Ctrl + Z on Windows or Command + Z on Mac in order to reverse your actions.
This will insert the column that you wanted to shift from another location. So if you want to find the best solutions for how to move rows to columns in Excel, then the above-mentioned steps are helpful to use in the Excel sheet.
Method 3: Sort the Columns
In this method, you will learn a super technique to move columns. By using this Sort Options, you can simply change the order of your columns and move it to the desired place. So if you are thinking how do I move columns in Excel then you can go through the following steps mentioned below.
- To initiate the process, you can open the Excel sheet where you want to move columns.
- Next to this, you can choose row 1.
- Then, you can click right and choose the Insert option.
- Now, you can use the selected row 1 to show the new order of columns.
- Once done, you can select your data.
- After the selection, you can go to the Data tab located on the top.
- Now, you can click on the Sort option under the Sort & Filter group.
- Once you do so, a Sort dialog box displays on your screen.
- Here, you can click on the Options.
- Thereafter, you can click on the Sort left to right option.
- Then, click on the OK button.
- Next to this, from the Sort by menu, you can choose the Row 1 and click the OK button.
- After that, you can delete row 1.
This method will move the selected columns after setting the sort options. You can do the same for the many columns. So if you are looking for the guide for how to move around columns in Excel, this is one of the useful methods you can apply.
Conclusion
If you are thinking how do I move columns in Excel then you can go through the aforementioned methods. Moving the columns in Excel is pretty easy. All you are required to do is go through the blog and implement methods step by step.
Here, you can perform three types of methods which include the drag option, Insert cut cells option, and the sort columns option. All these options can be found in Excel itself. So if you have been looking for a guide on how to move columns in Excel then this can be proved the simplest guide that provides easy methods.
Apart from this, we have prepared the curated guides for Excel which are as follows.